Instructions
Follow these 5 simple steps to achieve perfect prints on any surface.
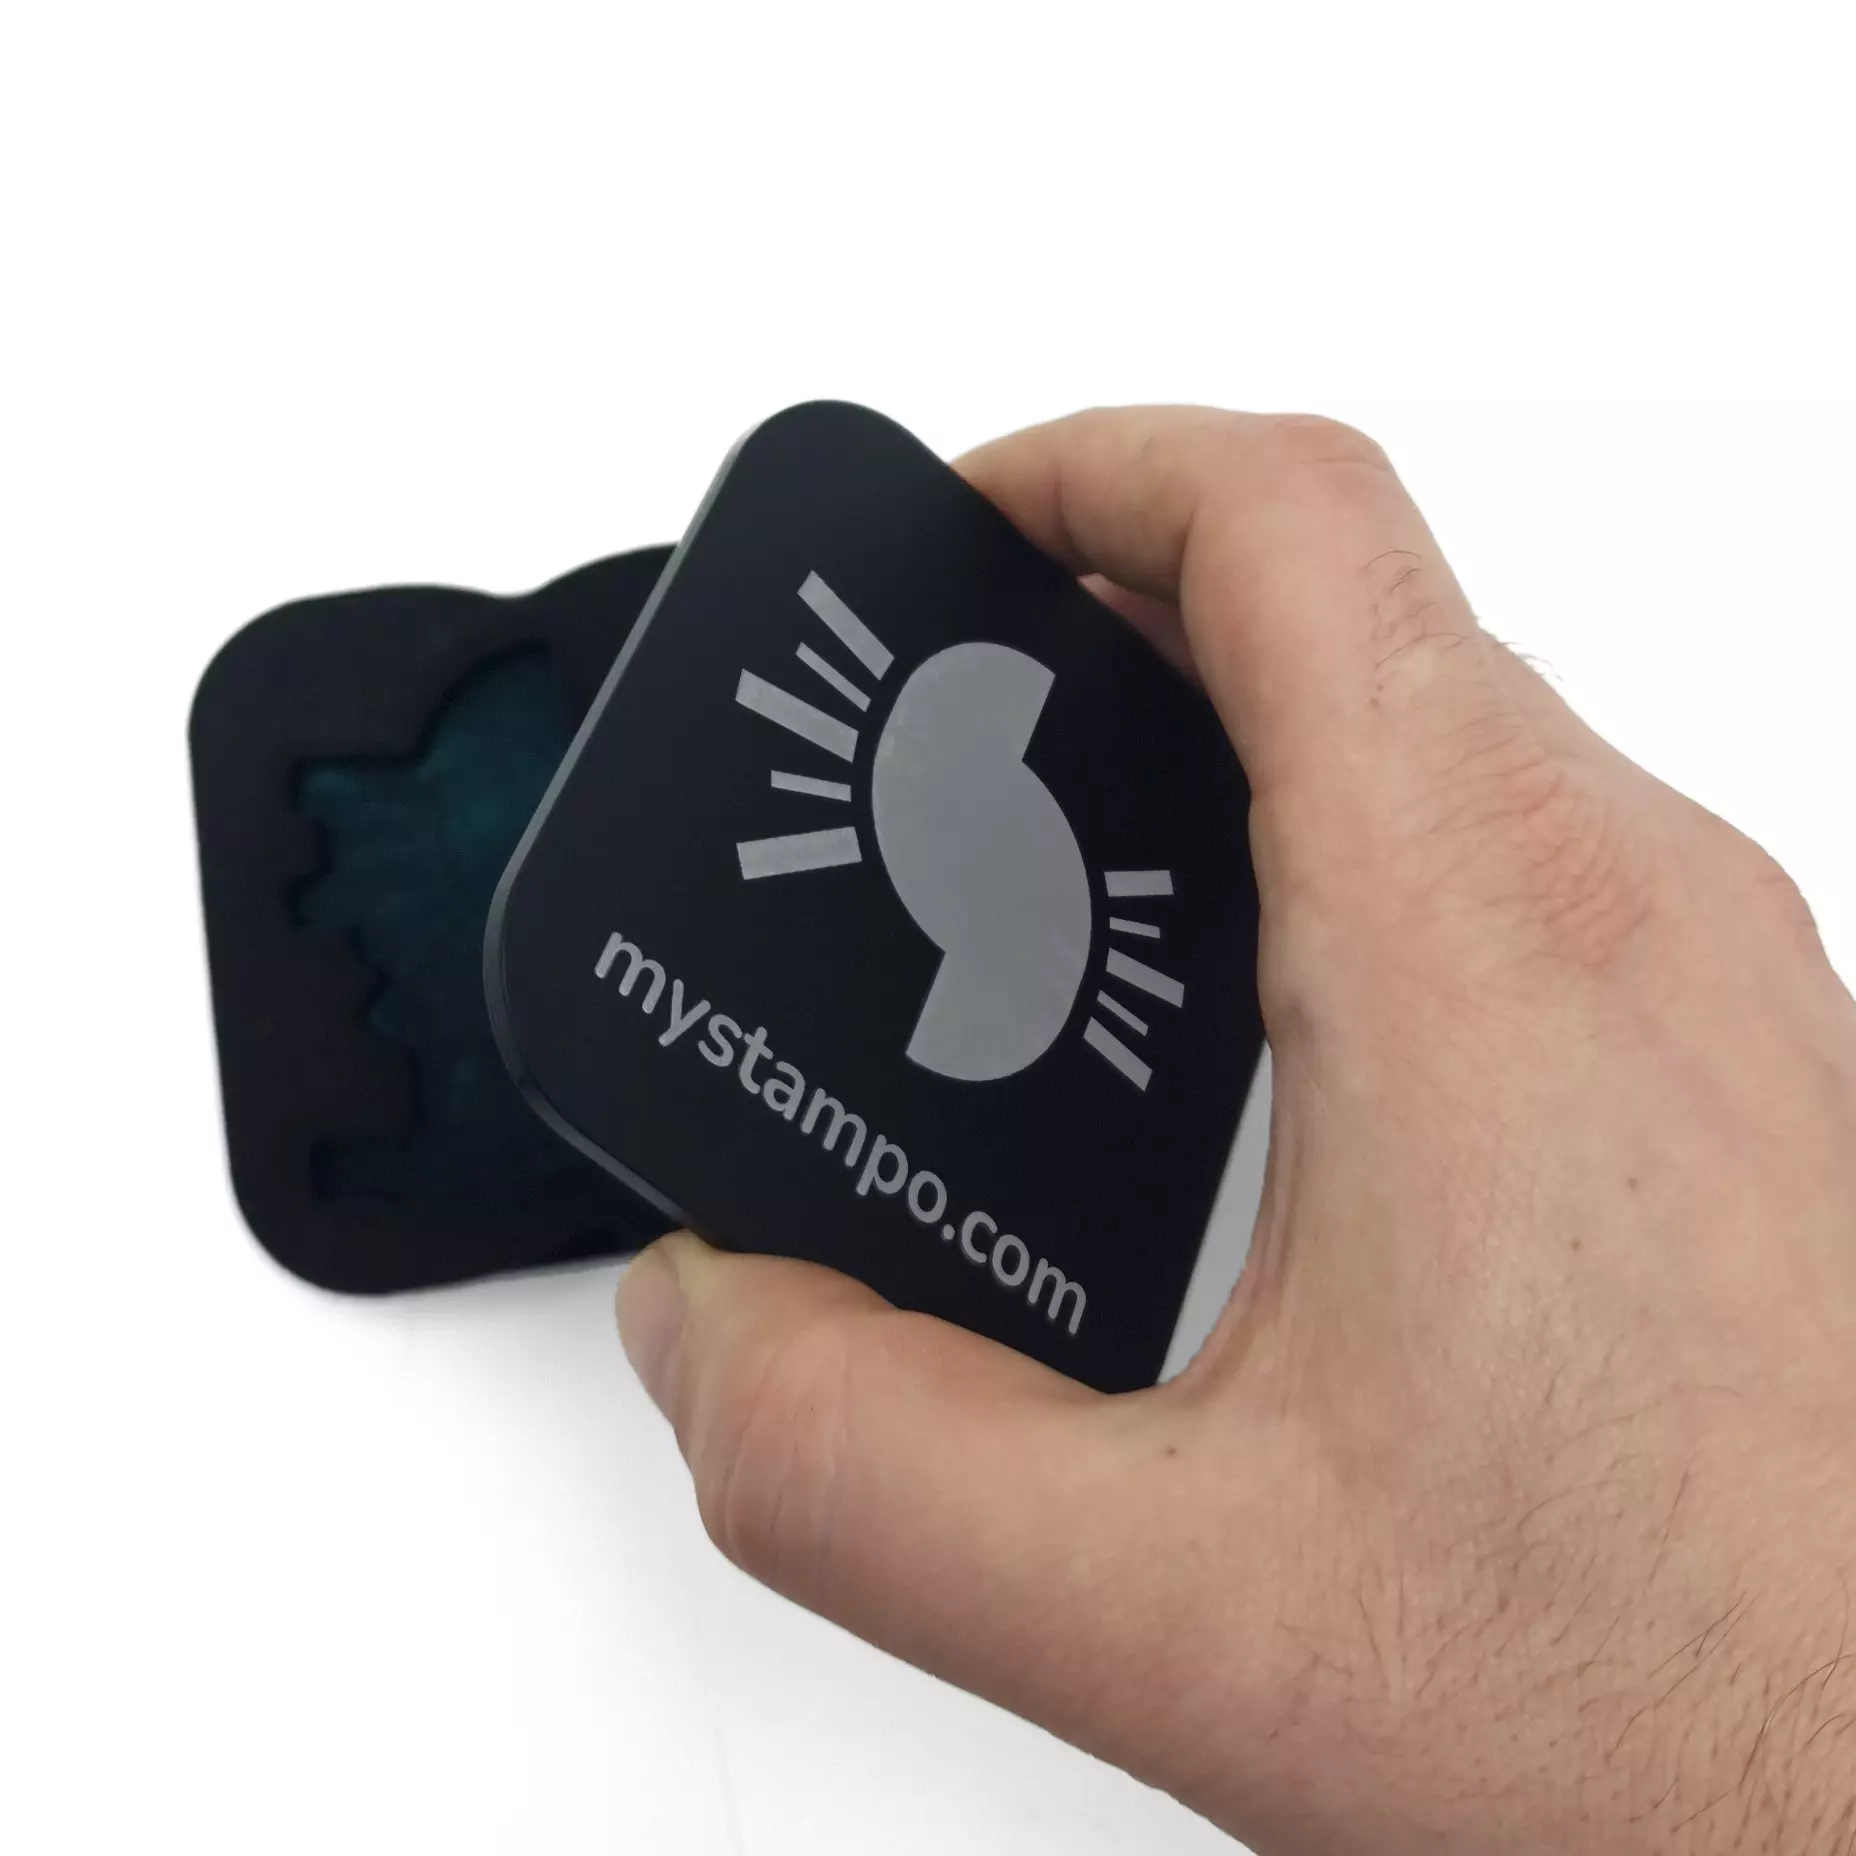
PRESS
Press firmly on the top of the stamp to activate the internal inking mechanism of the pad.
OPEN
Open the stamp by lifting the cover. The inked pad will be visible and ready for application.
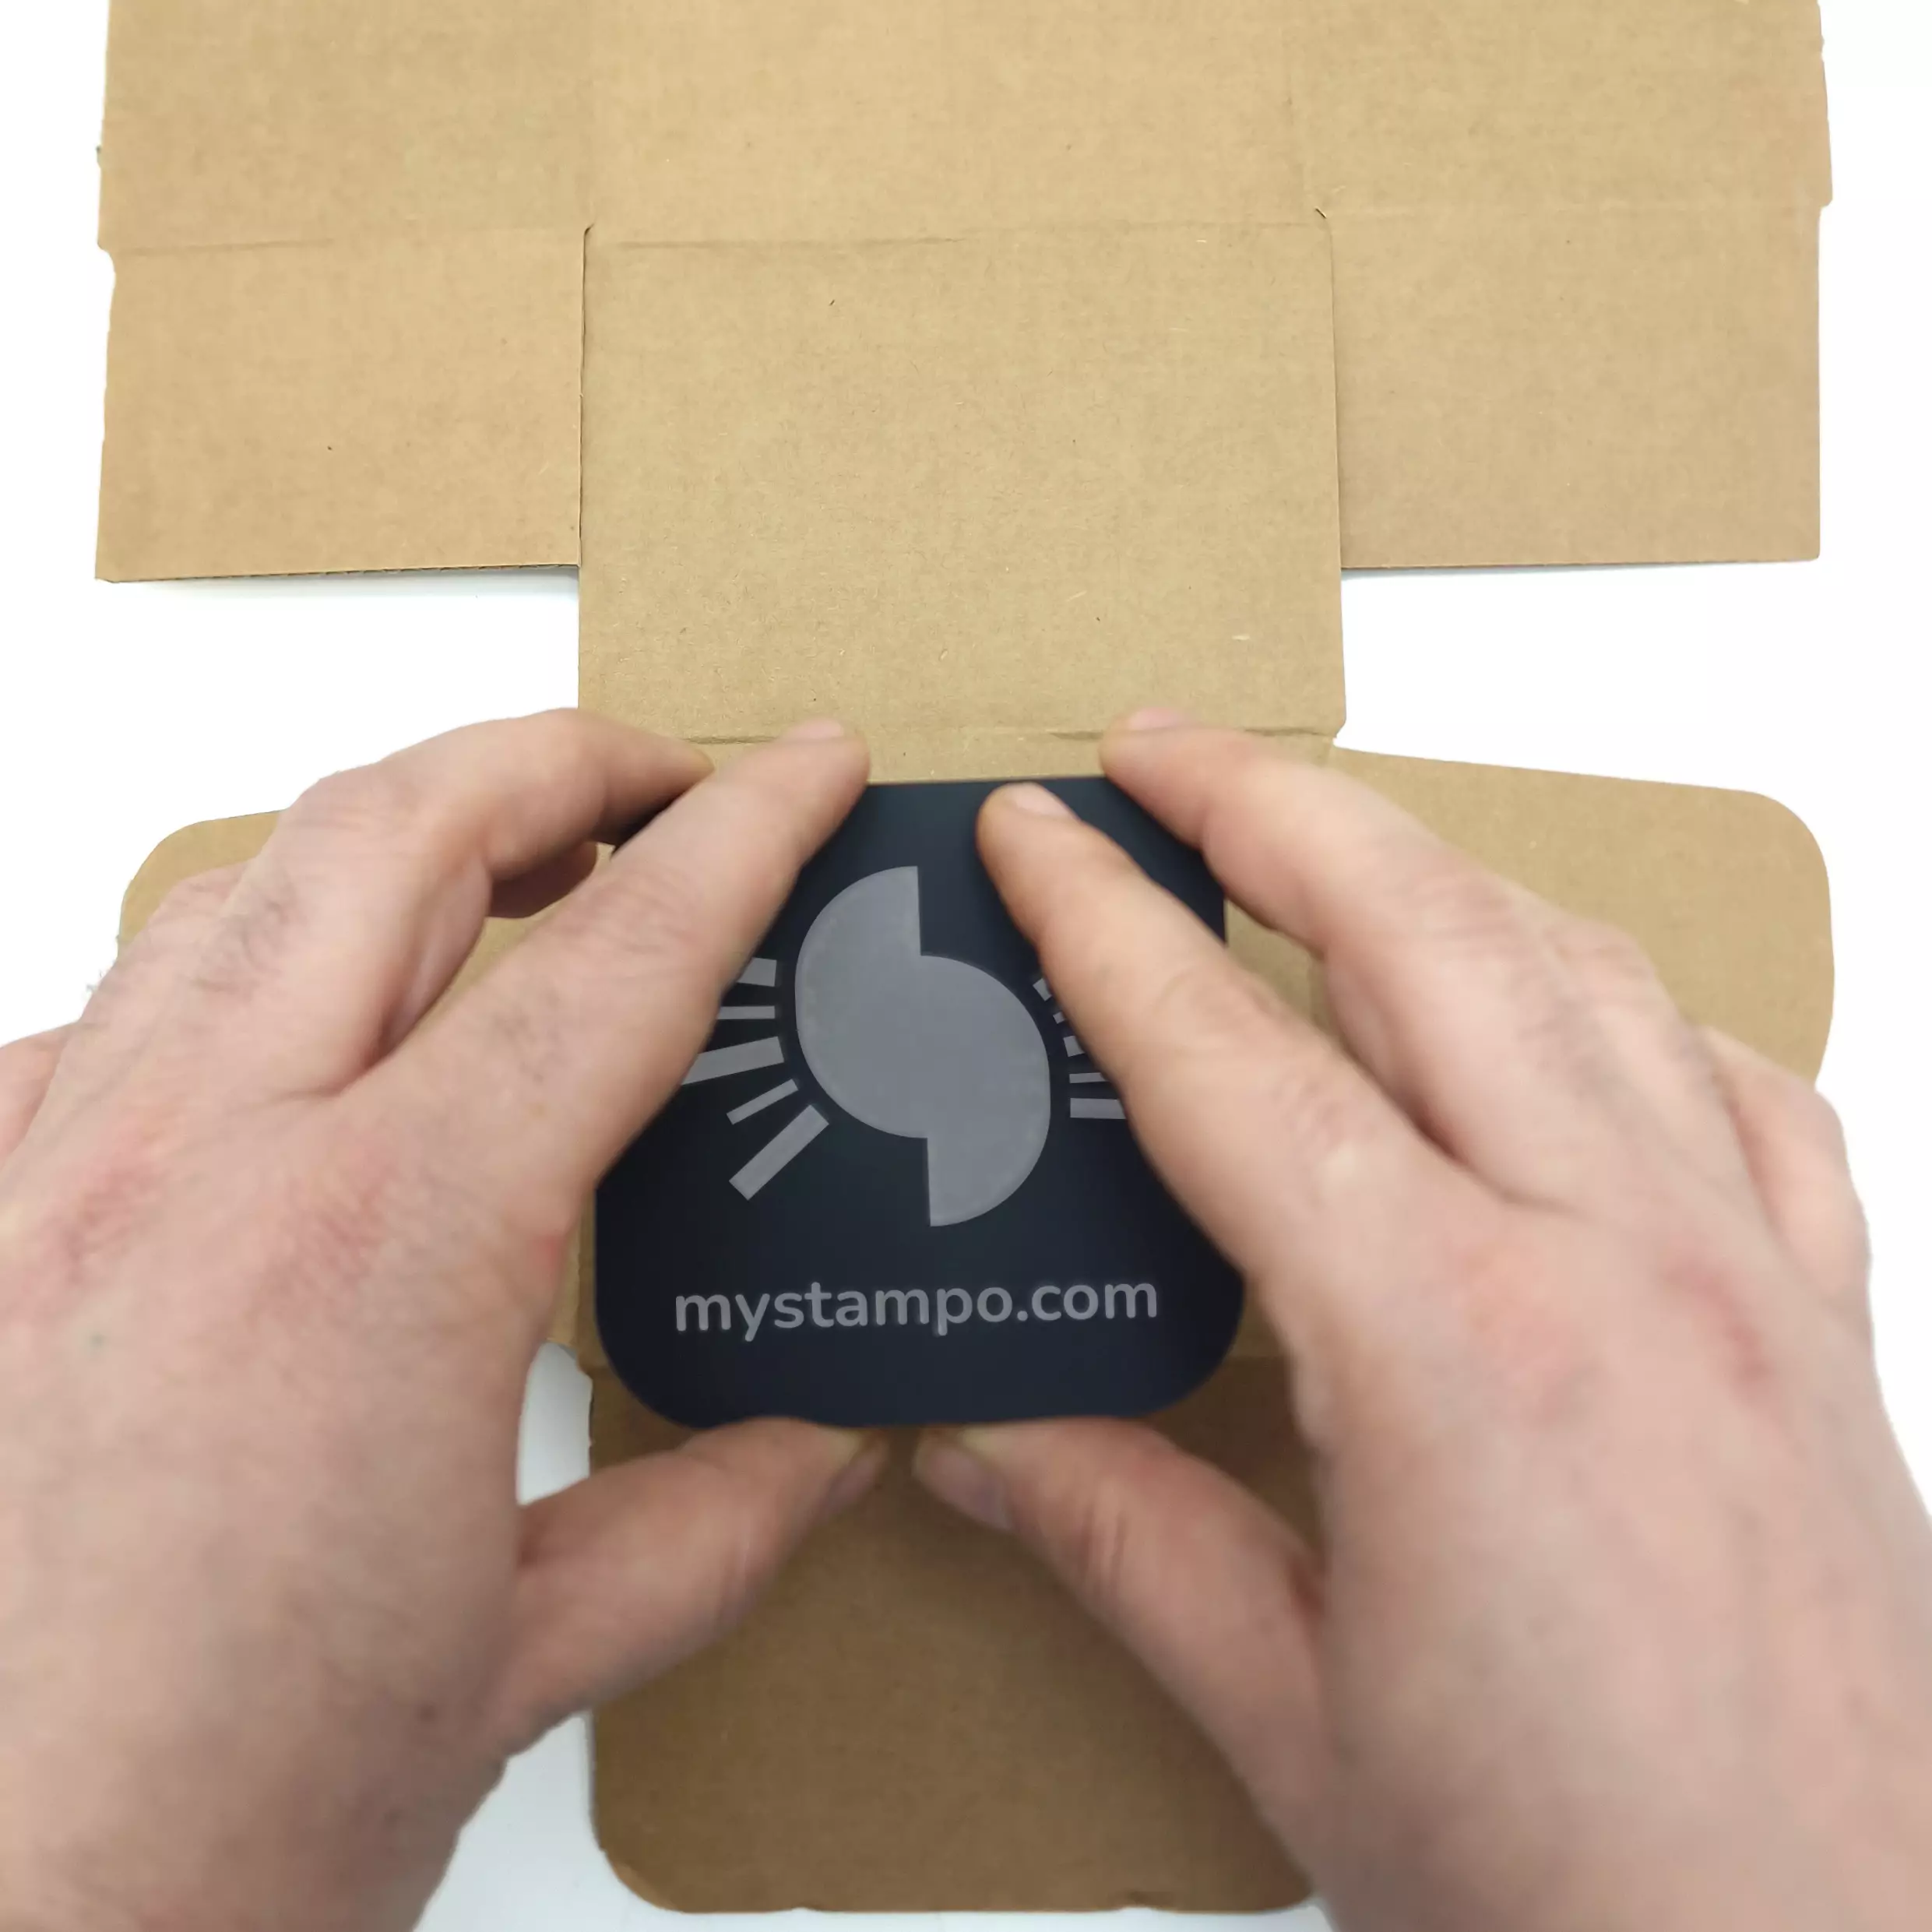
PLACE
Place the open stamp on the surface to be printed, ensuring it is well centred and stable.
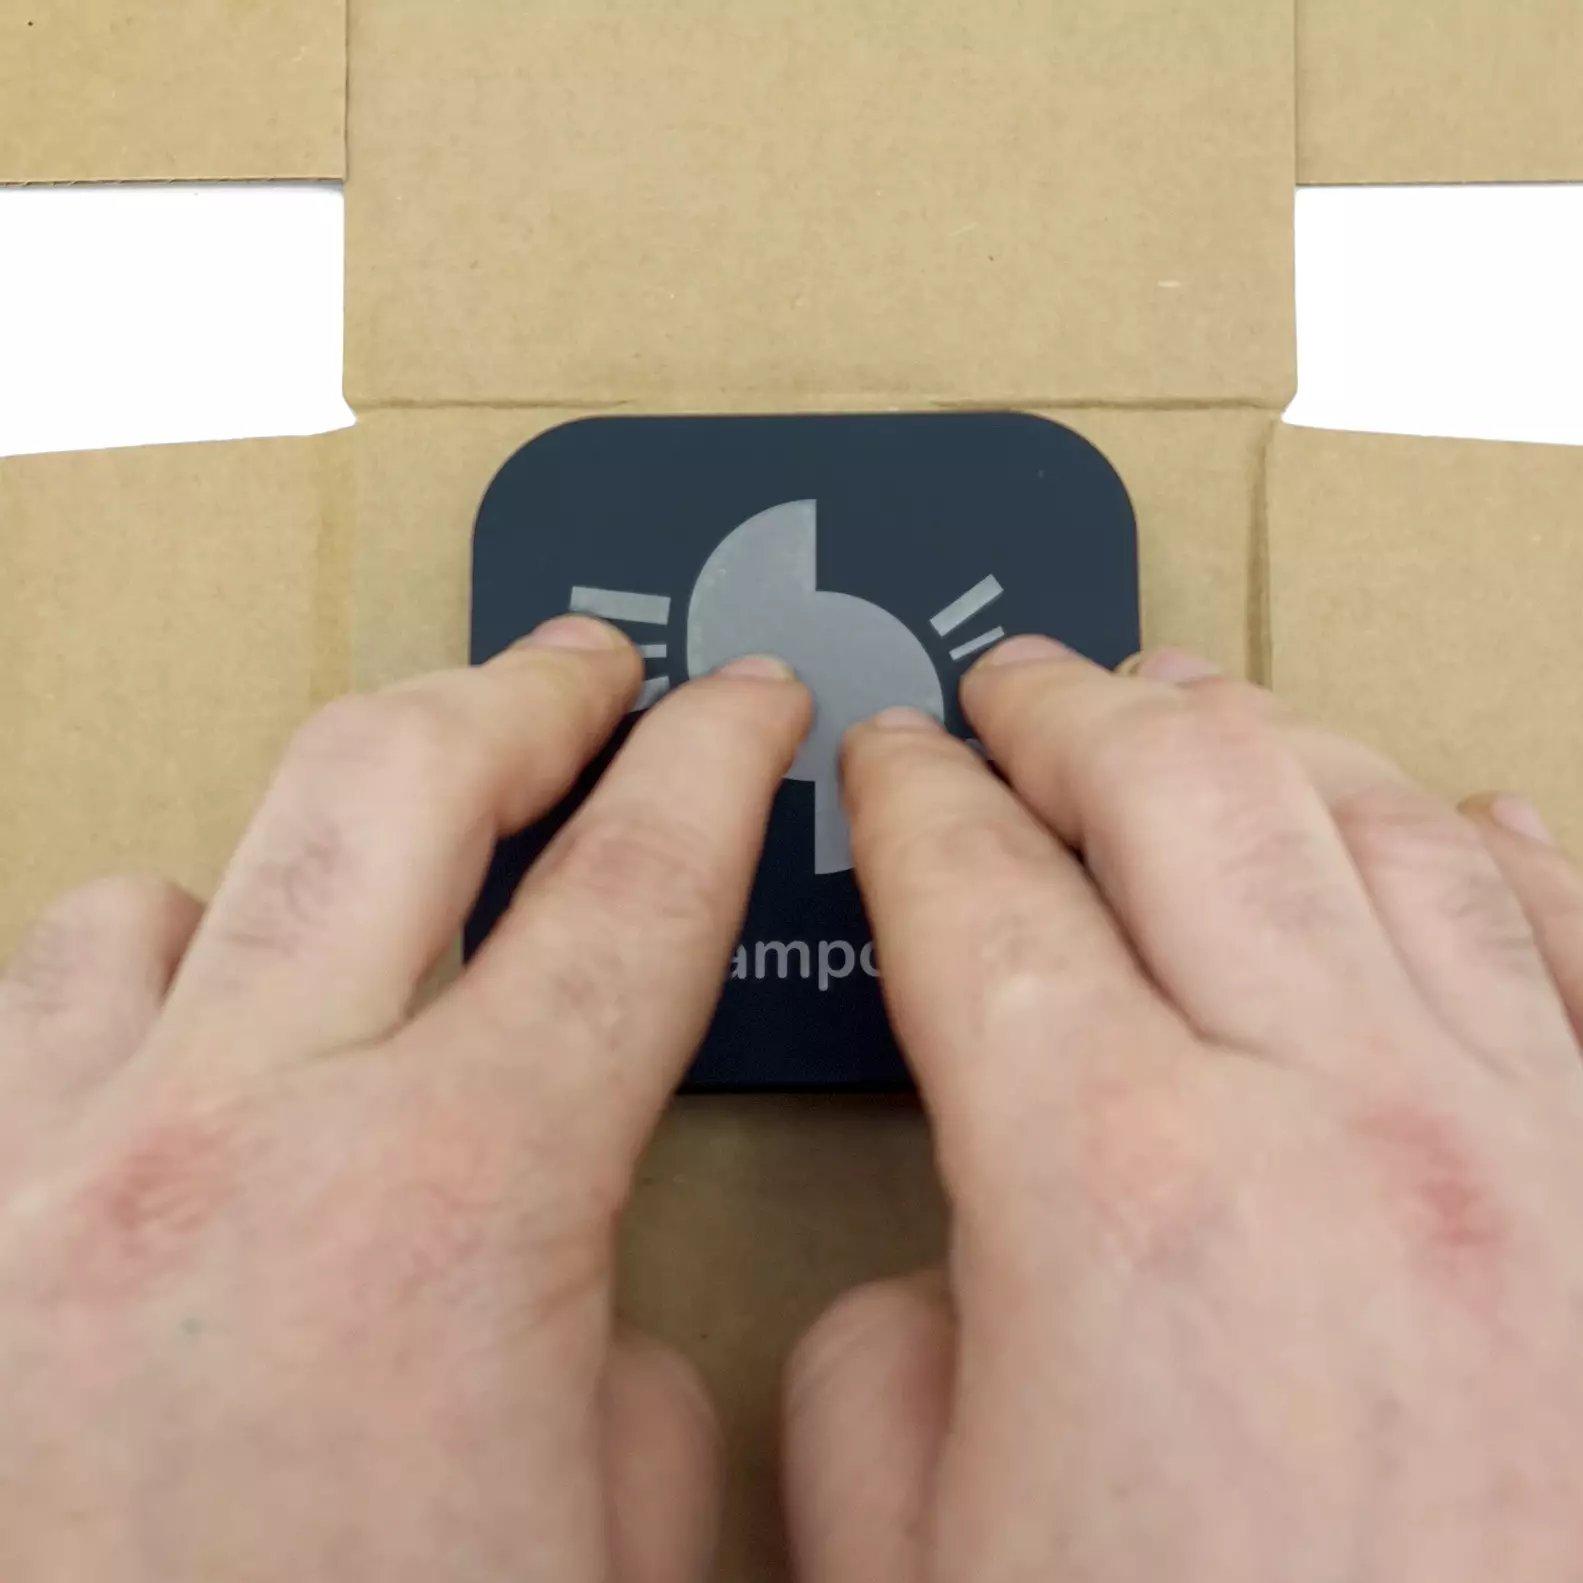
PRESS
Apply even pressure across the entire stamp surface to transfer the ink uniformly.
DONE
Gently lift the stamp. Your custom print is perfectly impressed on the surface!
Important note
Before printing, always do a test on a scrap piece or a hidden corner of the surface!
Ink Types
Each surface requires its own specific ink. Choose the right one for optimal results.
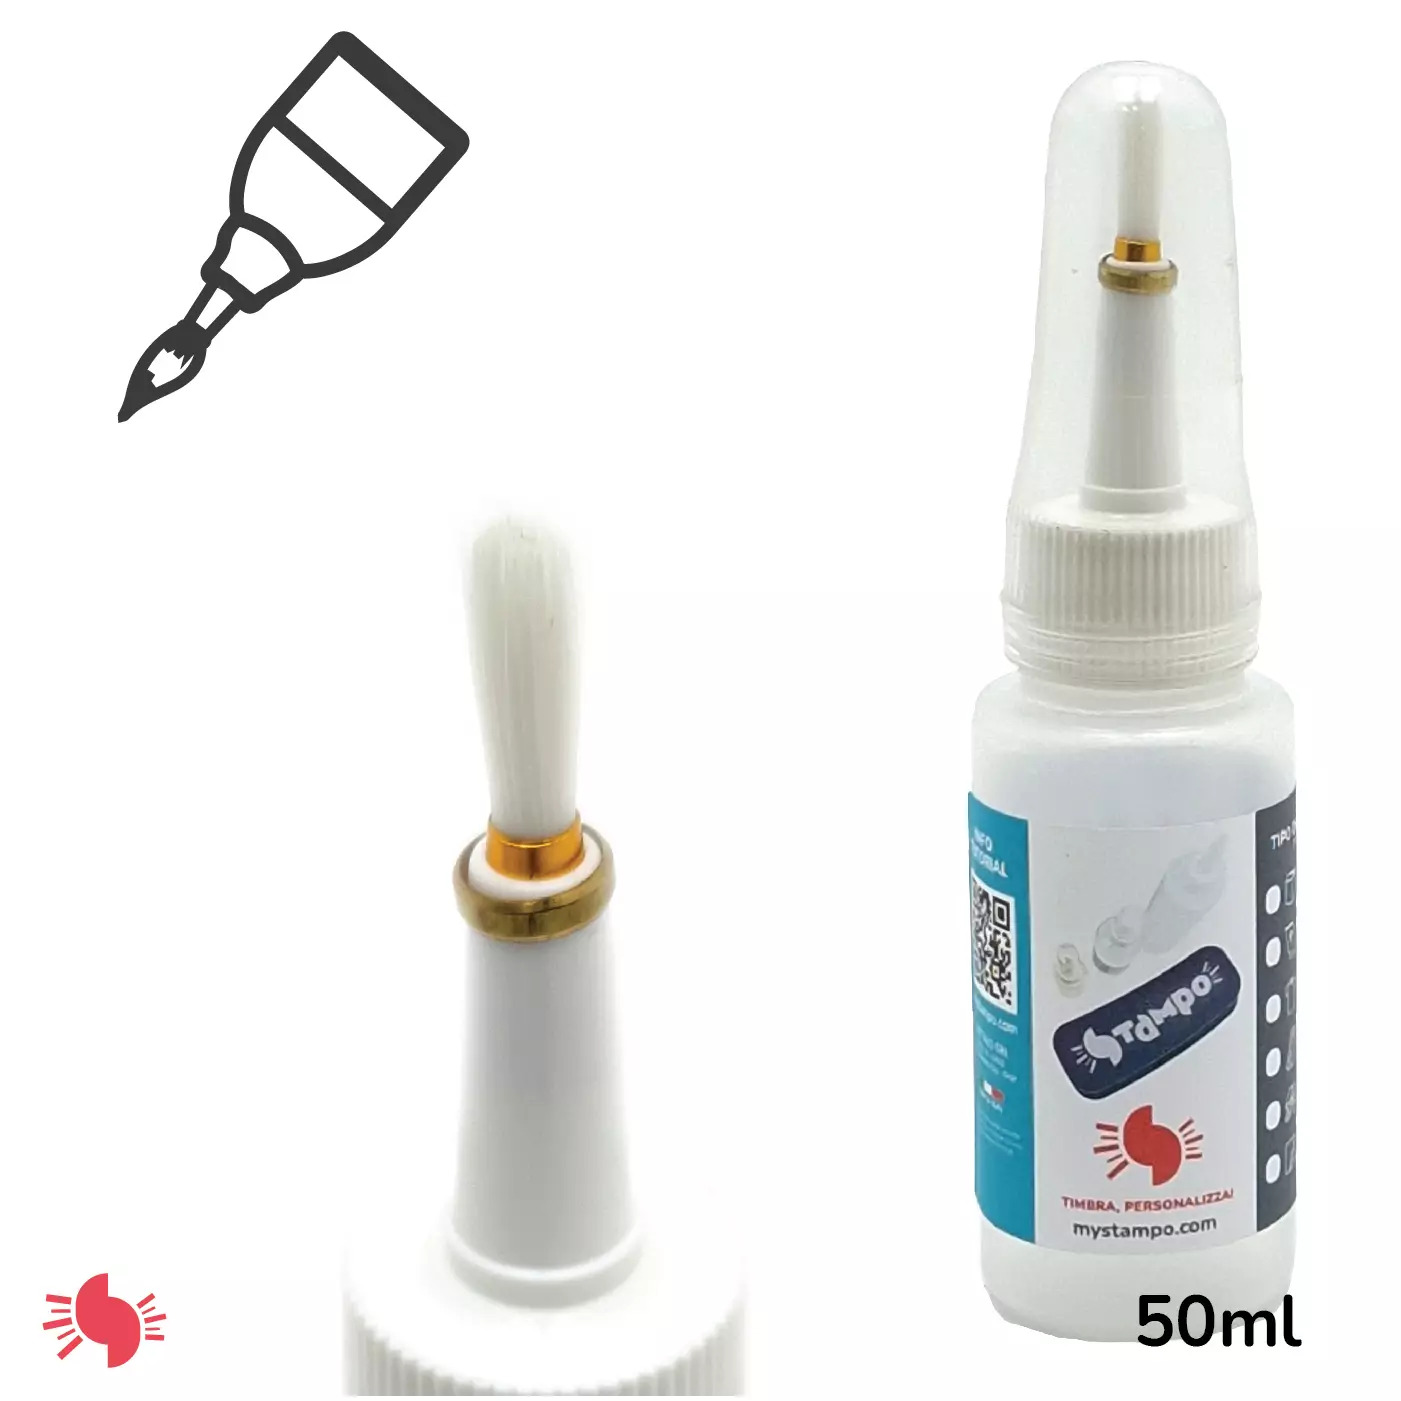
Ink Refilling
How to refill the ink pad of your stamp in 5 simple steps.
Remove the pad from the stamp by lifting it carefully.
Pour the ink evenly over the surface of the pad.
Distribute the ink uniformly using the bottle.
Leave to absorb for 2–3 minutes.
Reinsert the pad into the stamp and you are ready to print.
Cleaning with Cleaner / Reactivator
The Cleaner is required for coated paper, fabric, wood, plaster/concrete, plastic and metal inks. It cleans and reactivates the pad between uses.

When to use the Cleaner
- After every printing session with specialist inks
- When you notice a drop in print quality
- To reactivate a dried-out pad
Tip
We recommend ordering one stamp per ink type and colour. This way you will avoid colour contamination and always achieve perfect results.